I love making my own envelopes and you may too once you see how easy it could be by using just what’s lying around. You don’t have to be absolutely great at paper crafts to make an envelope.
A4 papers are easily available at most places. A single A4 sheet could be turned into a perfect one-piece envelope. It’s a handy skill if you ever run out of envelopes, make a fresh one, or for any other reason.
To make it clear, US letter paper is just close to A4 paper so works just fine. Also, you can use this exact method for any kind of rectangular paper.
Different types? We’re going to do it the easiest way it could be. If you want to make one of custom size, there is another post.
So, approx. 7.28 in (18.5 cm) x 5.5 in (14 cm) is the largest finished envelope that could be made out of an A4 paper because we’re not going to cut or fold the paper unnecessarily.
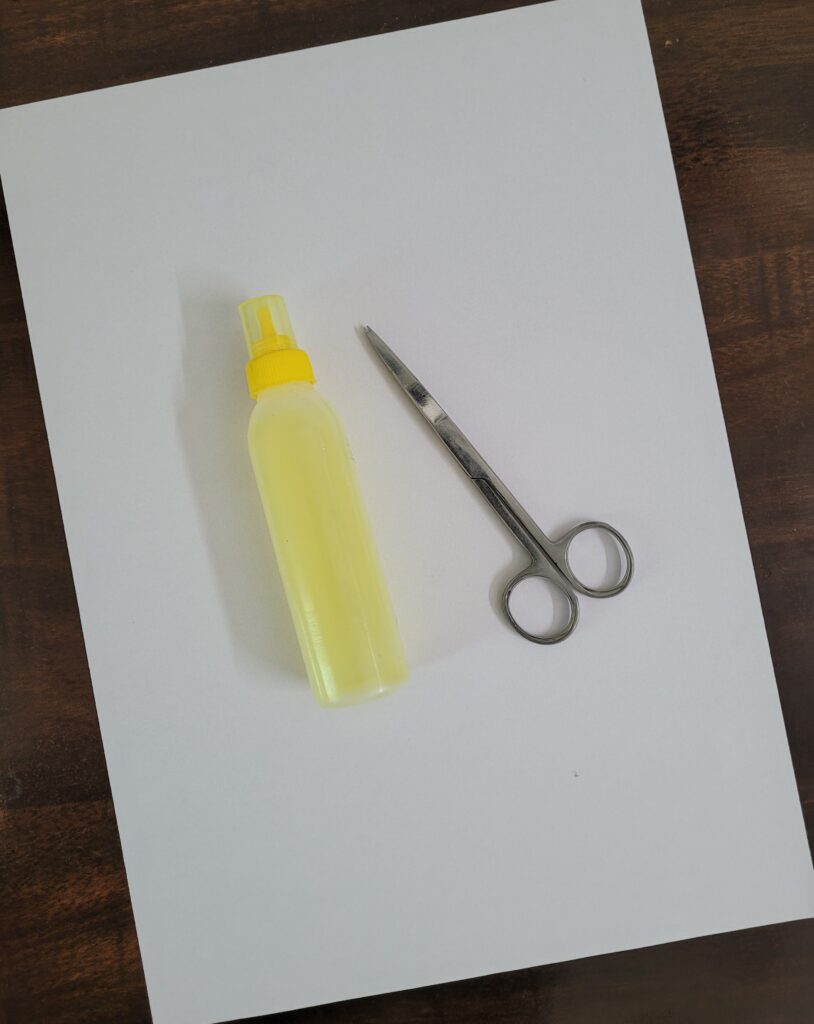
Get the paper and some glue.
Making an envelope without glue could be tricky for some people. There are extra folds that go into it to make it secure and stay in place.
Standard A4 printer paper isn’t the ideal option to make an envelope without glue. It just does not hold in place firmly. Paper thickness comes into play when making an envelope without glue.
If the envelope will be going on a journey, it’s best to use thicker paper and fasten it with glue. This way the envelope they receive is fresh and less-wrinkled when it reaches its destination.
Anyway, just a few drops of glue could make a more promising envelope.
You do need a pair of scissors. Of course, we’re not going to cut it unnecessarily small but in a certain way to fold less paper and have a bigger and more secure envelope.
You can use my template here to make it less sloppy or have lots of them to be made.
Why to make your own envelope?
Could be a nice little DIY craft you may or may not once loved as a kid. I love making my own envelopes and you may too. (EasyEnvelope Page).
Customize however you want.
If you want to make multiple, they got to be the same size so you could be more accurate with your measurements.
Clean hands
Let’s begin!
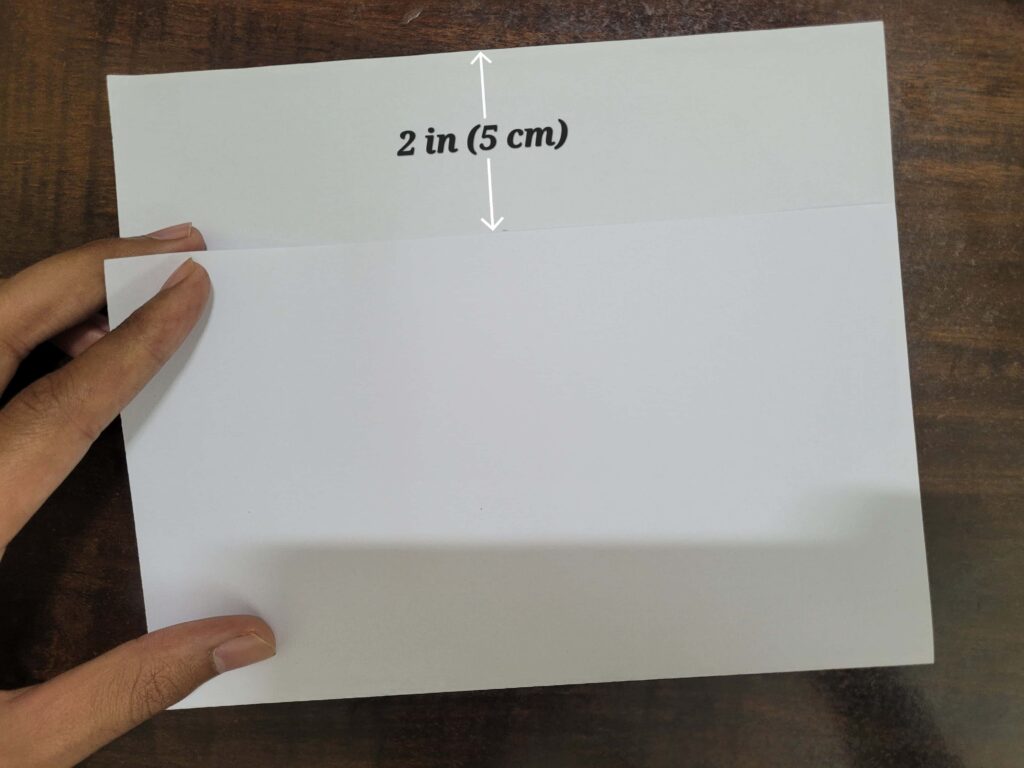
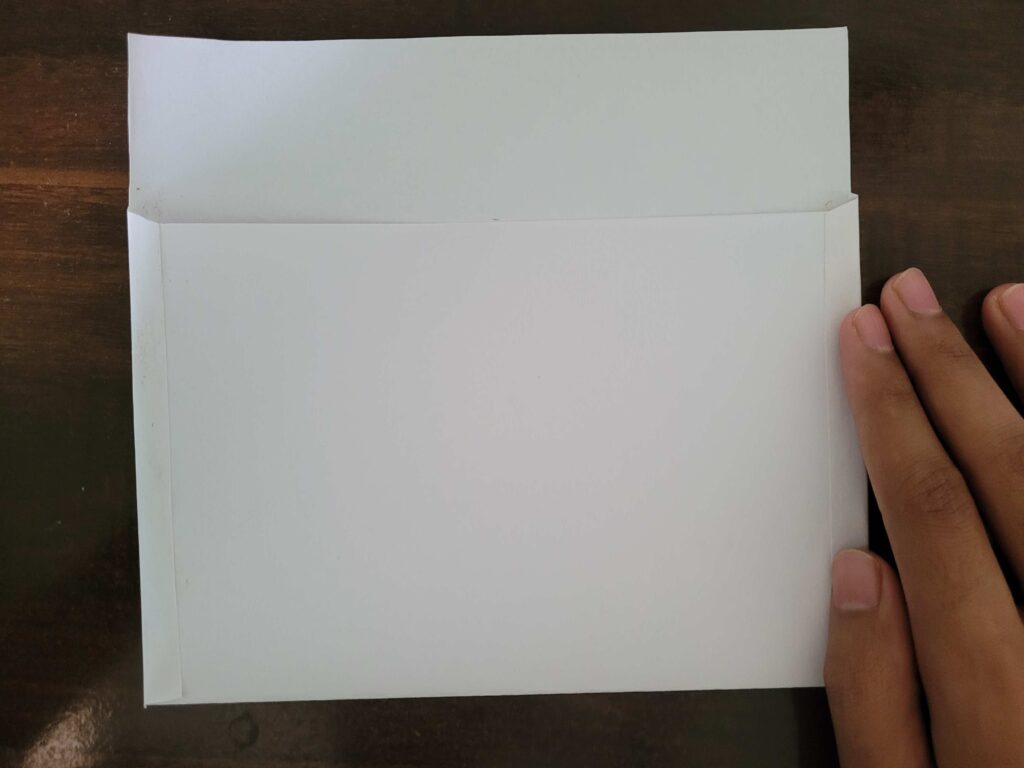
Position the paper vertically on the surface. Fold the paper from the bottom leaving 2 inches to the top edge (see the image above). You could also put a mark before folding if you’re not certain.
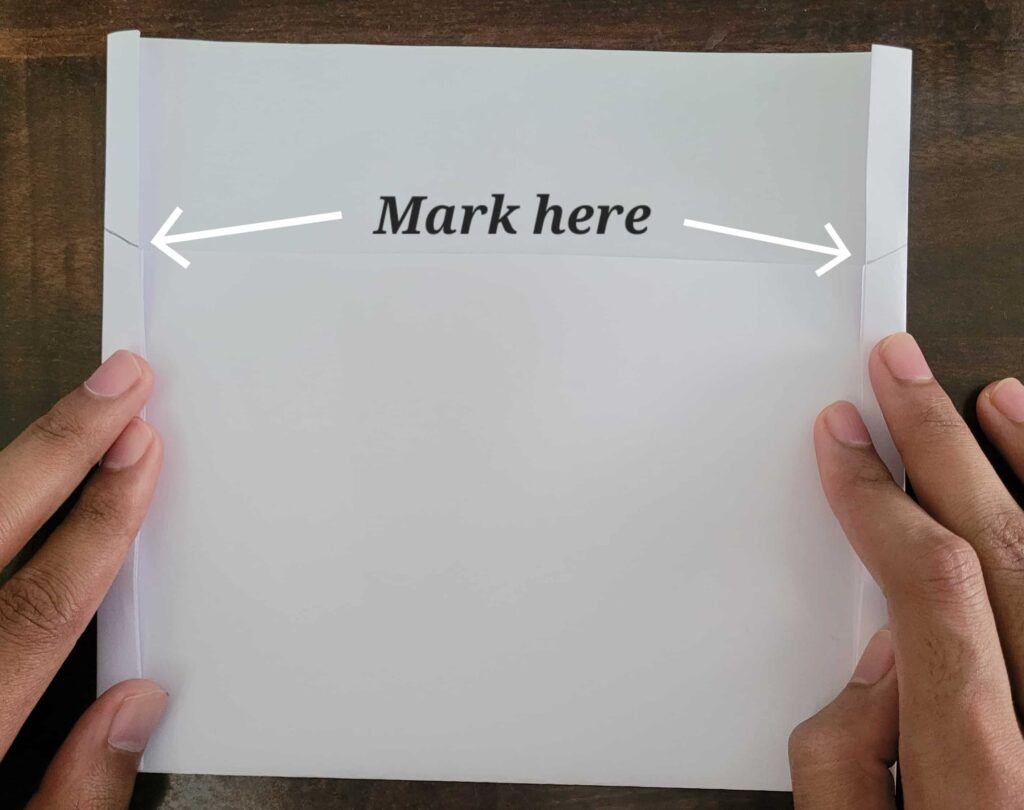
Fold the vertical sides inside by 1 cm firmly to get a defined crease/fold mark. (This could be done first but as the paper is shorter now because of the fold earlier, consistent fold of 1 cm throughout).
Mark the folded sizes such that the marks align with the edge of the paper we folded earlier (please see the image above). This will help to cut things out.
Making the cutout
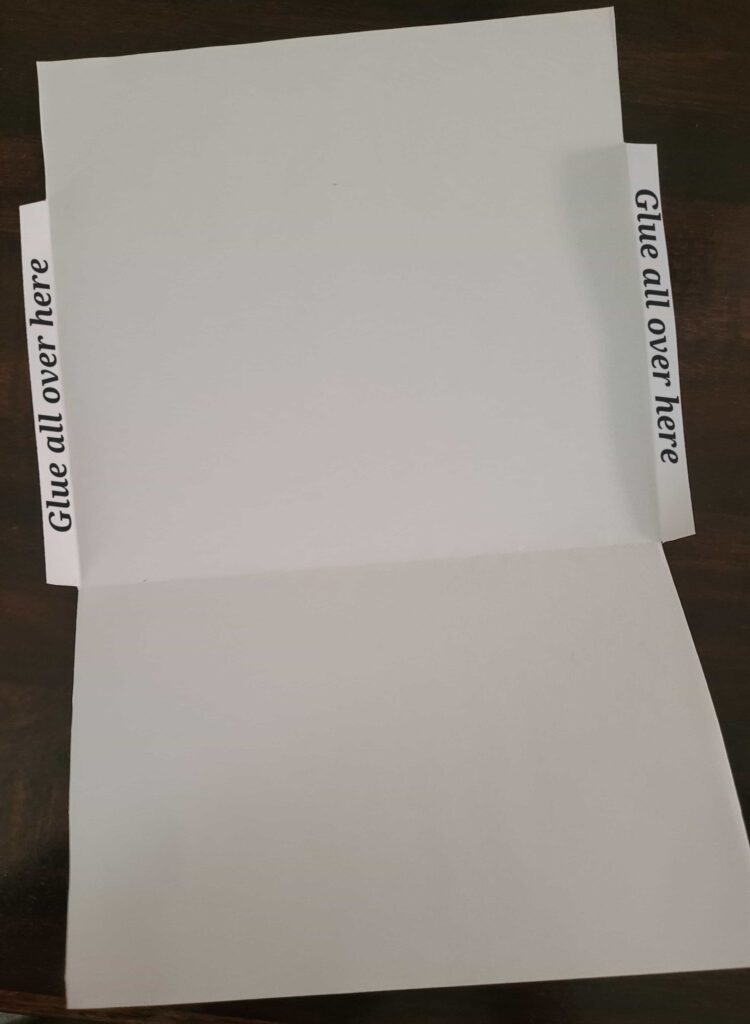
When unfold the entire paper and turn the paper upside down, what you have got now is essentially a template for the envelope.
The paper is divided into three parts.
- Top edge to the little marks we did on both sides.
- From those marks to the bottom fold mark.
- Bottom fold mark to down.
Cut the small 1 cm folds from both sides except for the middle part as you can see in the image above.
What we kept from cutting out is all the portions to glue. Apply glue appropriately, especially in edges and corners to prevent open spots.
You could use tape or other stuff that is used to stick the paper too.
Once the glue is applied, immediately fold the bottom again from the previous fold mark and fold the glue part thereon while pressing it firmly so that it sticks tightly.
Almost there
The 2-inch paper we left at the beginning is for the flap and also for some room so that the stuff can come and go in and out of the envelope easily.

Fold it down a bit more than an inch such that it covers the mouth of the envelope. If you see any edges popping out, cut them.
Maybe you could cut the corners of the flap into rounded like I did and there you go.